
As much as I look forward to Spring and new growth in the garden and yard, once those flowers bloom, I can only enjoy them in the garden. I can't bring them into my house.
I am highly allergic to most kinds, especially my favorites like Sunflowers and Queen Anne's Lace.

I am so happy to say that I found a way to have one of my favorite flowers indoors, and they are fire retardant too.
I was introduced to Thermaleaf® by fellow blogger Debbie who featured some beautiful wreaths she got from the company on her blog Mountain Mama..
I was offered to choose something from their website in exchange for a review. They specialize in fire retardant artificial foliage products for commercial use and home use.
Why use fire retardant artificial foliage in your home? A great question and one that Thermaleaf® answers in detail on their website. I did not know that many fires can be caused by artificial plants and trees used in commercial settings because they lack fire resistant materials. They can catch on fire very quickly and the smoke from these plants can be deadly. Not something you want in your place of business or your home!
It took a few times of browsing their website to choose something because of the large variety of potted plants, trees, and topiaries, as well as wreaths and a large selection of floral sprays and stems to make wreaths and arrangements.
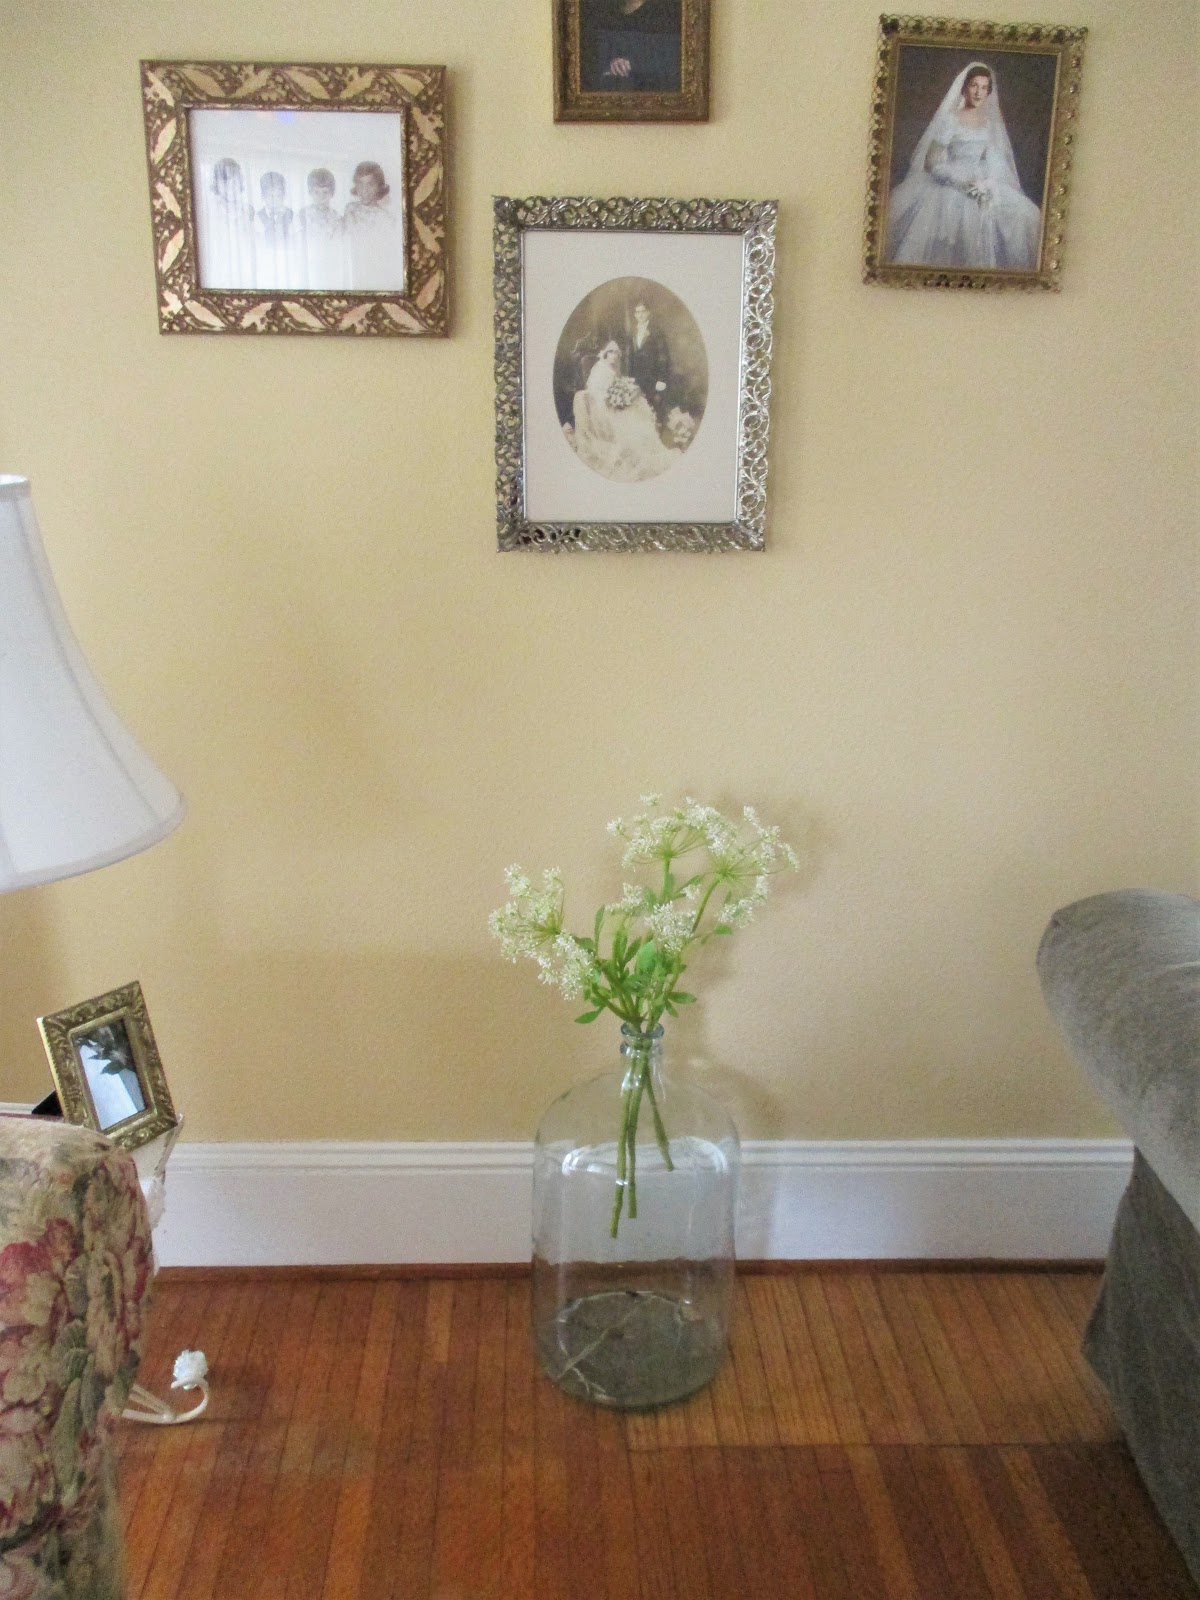
I finally chose the Queen Anne's lace stem pack of 12 so that I can arrange them in a vase or use them on a wreath. All 12 stems are in this vase.

I have always loved this pretty white flower that grows tall and lean in fields and roadsides during the summer. They have a lacy, Victorian look to them.

While on vacation one summer there was an abundance of them growing along the roadside where we were staying so I picked a bunch and decorated our cabin with them.
When the allergy symptoms appeared, I knew right away what the culprit was. Reluctantly, I have stayed away from them ever since.
I am thrilled to be able to have these realistic looking stems in my home and they look lovely in my large stoneware pitcher.

They have long stems and spots on them to cut through and shorten if needed. They also bend so you can arrange them.

I took some out for a leaner look in the vase.


I thought they looked pretty added to my stoneware jug of Pussy Willows.


I also tried them in my glass demijohn bottle and although only three stems fit in there, I love the simple look in the living room.

I hope you will visit Thermaleaf to see if there is something pretty for your home.
The way the weather is going in the northeast, we may have to rely on pretty faux flowers to fill our vases!
I have a unique offer for you from ThermaLeaf...
Use the code BLOGGER10
to take 10% off all products
except custom items.
AnnMarie xoxo
I am linking up with these blog parties:


